Skip the manual plugin installation with no-code Backstage
Request a Roadie demoInstallation steps
Install the front-end plugin.
cd packages/app
yarn add @bestsellerit/backstage-plugin-harbor
Add a new Harbor tab to the entity page.
// packages/app/src/components/catalog/EntityPage.tsx
import {
  EntityHarborContent,
  EntityHarborWidgetCard,
  isHarborAvailable
} from '@bestsellerit/backstage-plugin-harbor';

const serviceEntityPage = (
  <EntityLayout>
    <EntityLayout.Route path="/harbor" title="Harbor">
      <EntityHarborContent />
    </EntityLayout.Route>
  </EntityLayout>
);
Add the Harbor card to the Overview tab on the entity page.
// packages/app/src/components/catalog/EntityPage.tsx
const overviewContent = (
  <Grid container spacing={3} alignItems="stretch">
    <EntitySwitch>
      <EntitySwitch.Case if={isHarborAvailable}>
        <Grid item>
          <EntityHarborWidgetCard/>
        </Grid>
      </EntitySwitch.Case>
    </EntitySwitch>
  </Grid>
);
Install the backend plugin.
cd packages/backend
yarn add @bestsellerit/backstage-plugin-harbor-backend
Create a new harbor.ts file with a function to create the backend plugin.
// packages/backend/src/plugins/harbor.ts
import { createRouter } from '@bestsellerit/backstage-plugin-harbor-backend';
import { Router } from 'express';
import { PluginEnvironment } from '../types';

export default async function createPlugin({
  logger,
  config
}: PluginEnvironment): Promise<Router> {
  return await createRouter({ logger, config });
}
Integrate the backend plugin into the backend router.
// packages/backend/src/index.ts
import harbor from './plugins/harbor';

async function main() {
  // tip: add the route to the apiRouter before the apiRouter is added to the service to ensure your API routes are available
  const harborEnv = useHotMemoize(module, () => createEnv('harbor'));
  apiRouter.use('/harbor', await harbor(harborENv));
}
Add required configuration to connect Backstage to your Harbor instance.
# app-config.yaml
harbor:
  baseUrl: https://demo.goharbor.io
  username:
    $env: HARBOR_USERNAME
  password:
    $env: HARBOR_PASSWORD
Add an annotation to a component's catalog-info.yaml to link the component to its Harbor repository.
# catalog-info.yml
metadata:
  annotations:
    goharbor.io/repository-slug: briandesousa/backstage-sample-service
Found a mistake? Update these instructions.
Things to know
Harbor is an open source registry for Docker images that can be installed on your own infrastructure. It includes many common image registry capabilities including image vulnerability scanning.
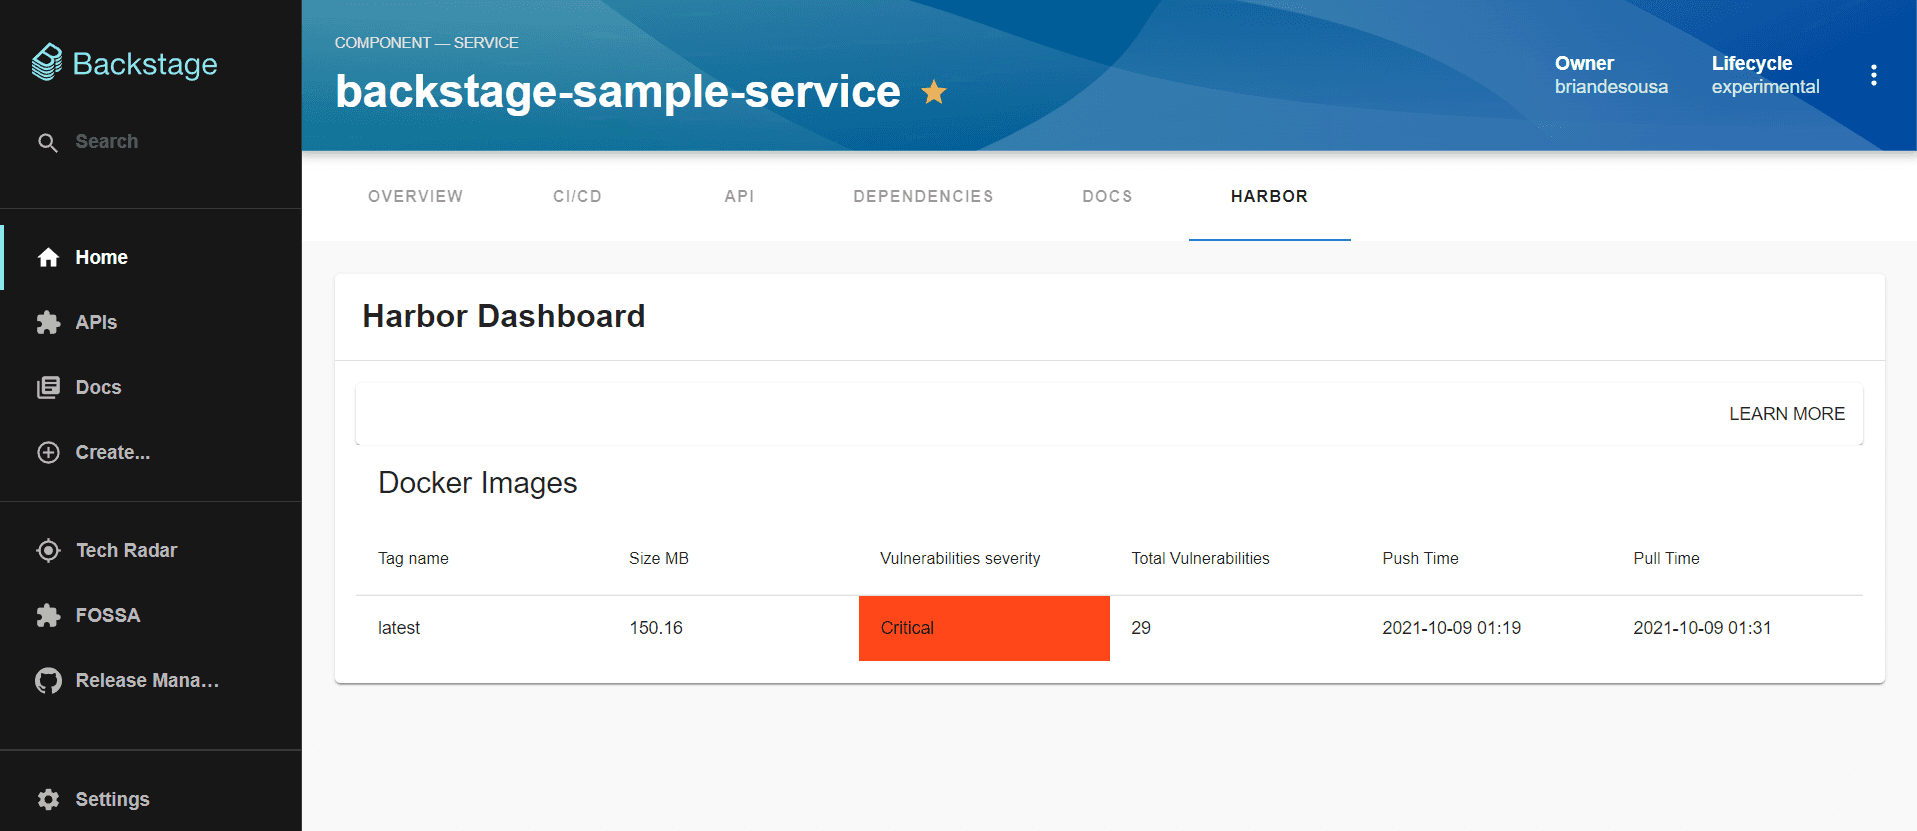
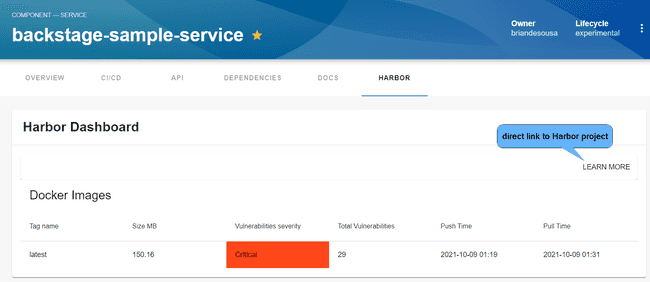
The Harbor plugin displays information about Docker images stored in your Harbor registry. Backstage catalog components can be associated to a Harbor repository. The Harbor Dashboard appears as a new tab on the catalog entity page:
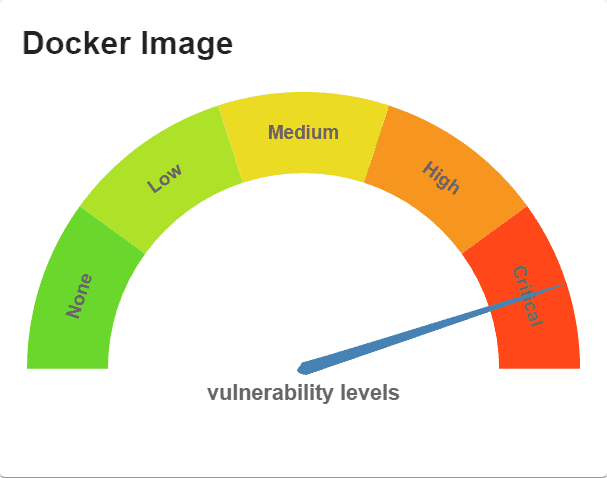
A Harbor widget is also available to display a summary of vulnerabilities in your component’s Docker image. This widget can be added to any tab on the entity page:
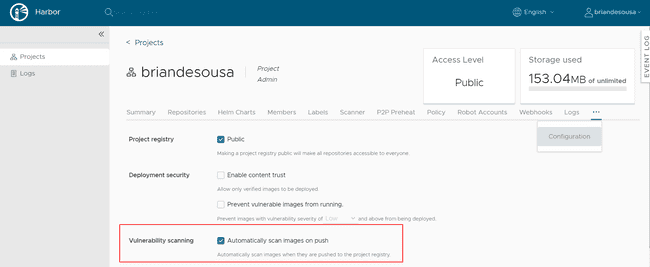
The plugin will only display information about images in Harbor if a vulnerability scan has been run on the image. You can enable automatic scanning on image push in Harbor project settings:
Authentication
The plugin connects to Harbor with a username and password that is stored in app-config.yaml. Credentials can be defined directly in the YAML file or passed in via environment variables like this:
      harbor:
        baseUrl: https://demo.goharbor.io
        username:
          $env: HARBOR_USERNAME
        password:
          $env: HARBOR_PASSWORD
Consider creating a dedicated Harbor user for the connection from Backstage.
Don’t have Harbor setup yet?
A demo of Harbor is available at demo.goharbor.io. The demo allows you to create an account and push images. All accounts and images are automatically purged on a regular basis. This is a great and easy way to experiement with Harbor in Backstage.
See Conditions of Use of the Demo Server on Harbor’s website for more information.
Prefer a no-code Backstage setup?
Request a Roadie demoBecome a Backstage expert
To get the latest news, deep dives into Backstage features, and a roundup of recent open-source action, sign up for Roadie's Backstage Weekly. See recent editions.


